Set Up
Now it's time to connect the host computer to the development board.
- Plug one end of the USB to the computer's USB port.
- Plug the other end to the board's esp32c6-tagged USB port (or you may see a USB tag.)
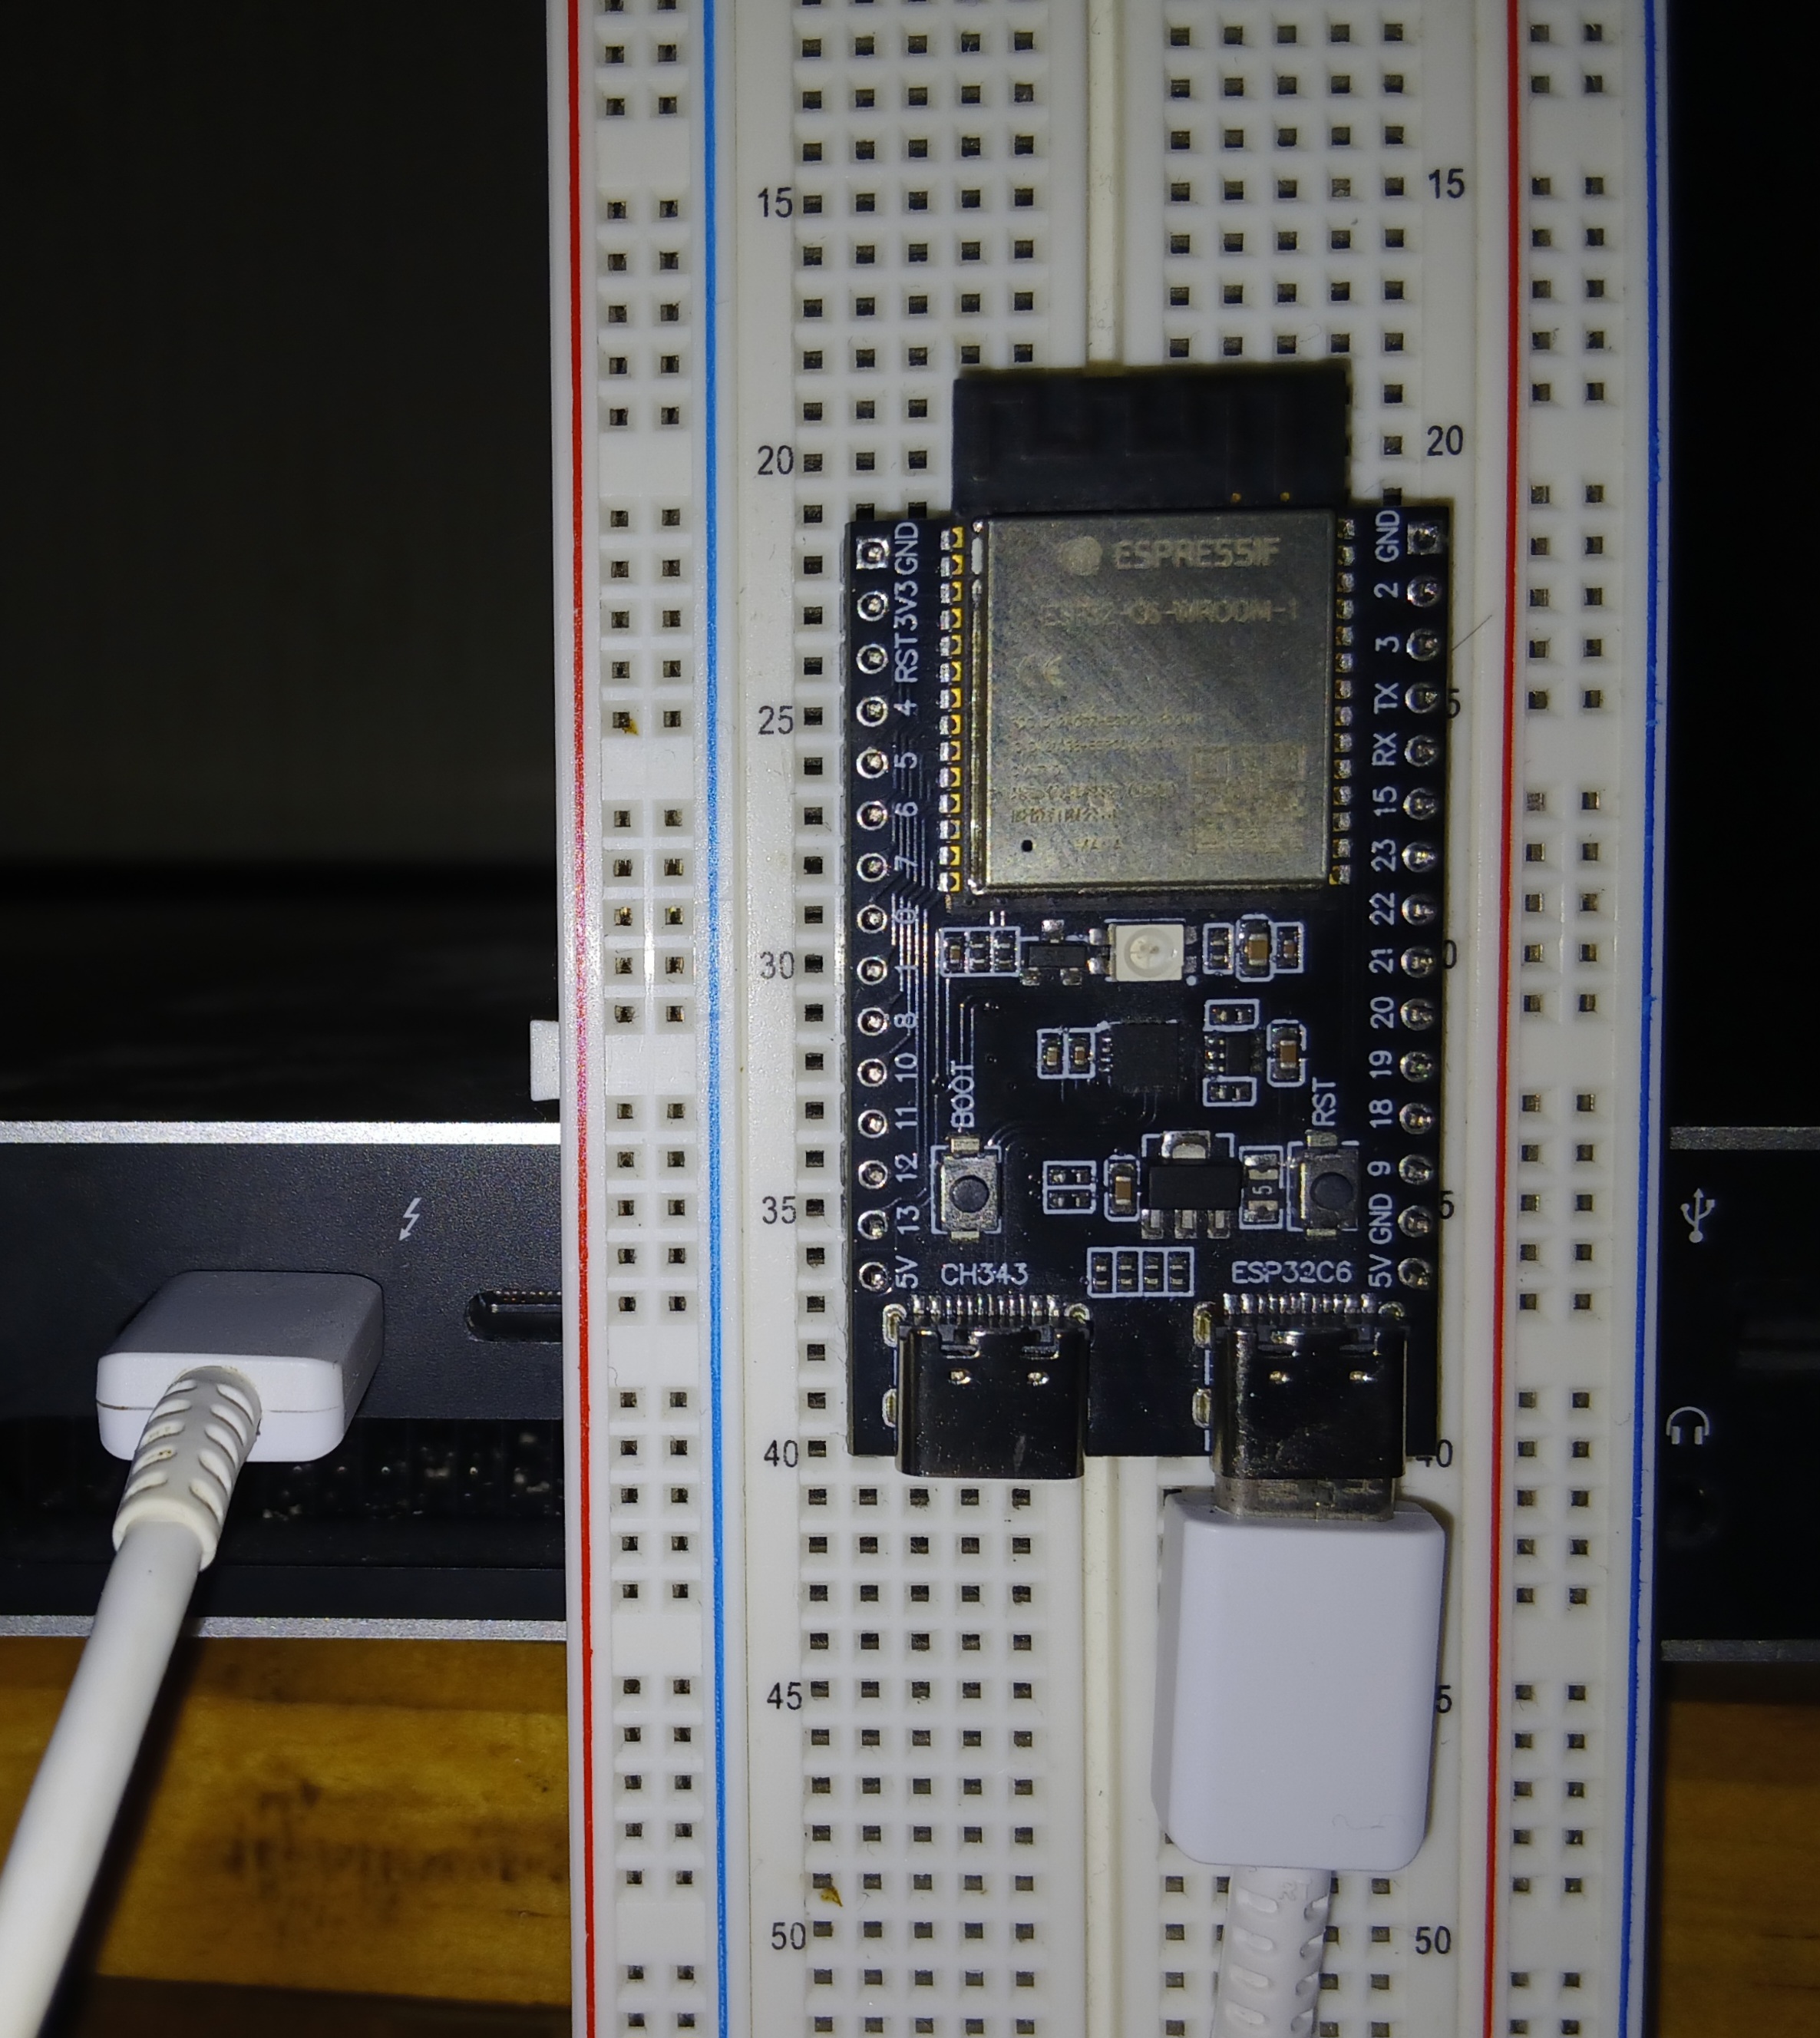
Board-Laptop USB-link (white cable).
Note
The extra USB port is UART or ch343-tagged. It is used to communicate with the UART peripheral within the MCU. Both ports can be used for flashing and powering, but only esp32c6 can be used for debugging.
Check connection
To ensure our OS can detect the board, list the devices with one of these approaches:
-
With
lsls /dev/tty*usb* # MacOSls /dev/ttyACM* # Linux -
With
lsusblsusb | grep JTAG # Bus (...) USB JTAG/serial debug unit (...)
Install Software
Now that the board is seen by our OS, let's install all needed software.
Rust Tools
-
Install the Rust toolchain following the steps in https://rustup.rs/
- The Rust Toolchain is
rustupplus many componentscargo,rustc, the compiledstdcomponent and so on.
- The Rust Toolchain is
-
Add the compiled
std-component for our target processorrustup target add riscv32imac-unknown-none-elf -
Add development components:
rustup component add rust-analyzer rust-srcrust-srcis thestd-component's source code, used byrust-analyzer.
Espressif tools
espflash is used for flashing our ELF binary (our program) into the board.
Install espflash with: cargo install espflash
Build dependencies
rustc has compilation backends which do part of the compilation of our code. llvm is one such possible backend (the most common one.)
-
Debian/Ubuntu.
sudo apt install llvm-dev libclang-dev clang -
MacOS. When using the Homebrew package manager, which we recommend:
brew install llvm
Suggested reading
- esp32 tutorial, cross-compiling.
Additional Software
- It's recommended to install
Rust Analyzer, following their guide.